· Mobile App Development · 4 min read
Connecting Flutter application to Localhost
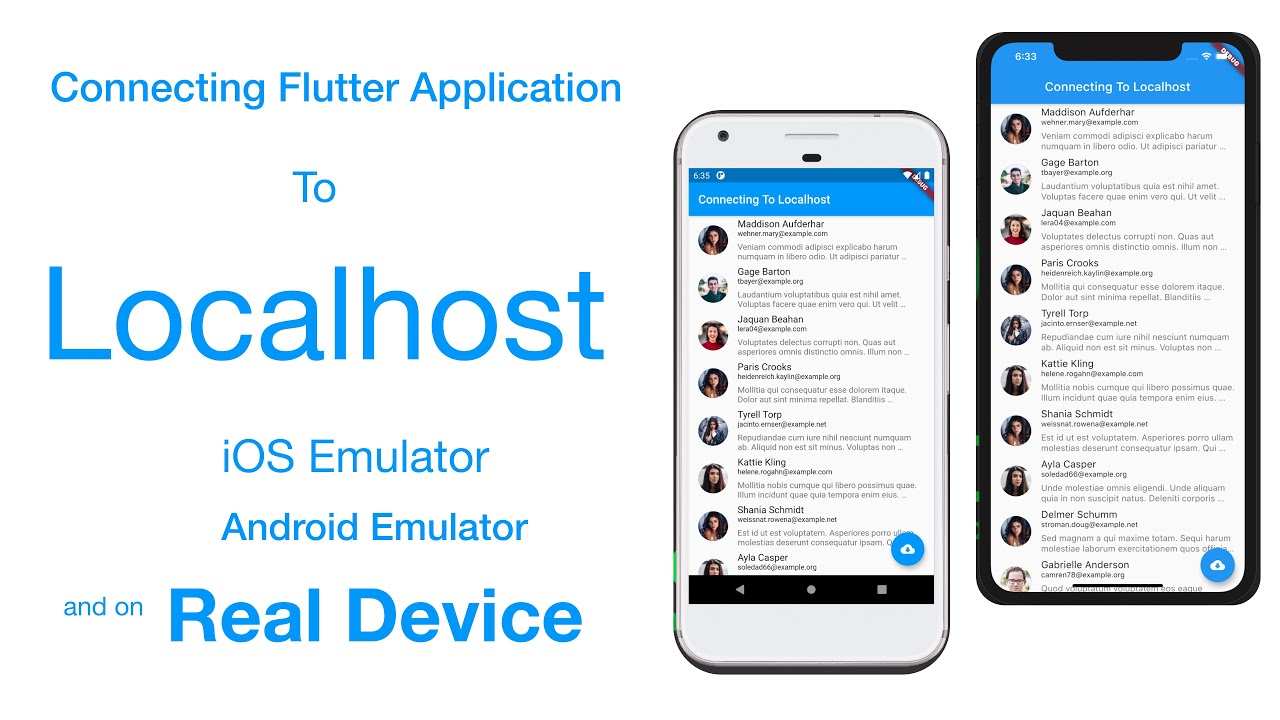
Connecting a Flutter application to localhost across multiple platforms, such as iOS and Android emulators or real devices, can be more complex than it appears.

Overview
Connecting your Flutter application to localhost isn’t as simple as it seems. The challenge increases when you want to run your Flutter application on multiple platforms simultaneously — such as iOS emulators, Android emulators, and real devices — all while keeping it connected to localhost.
In this article, we’ll walk you through the steps to successfully connect your Flutter app to localhost on different platforms, covering the nuances of each environment and providing the configuration details you’ll need for seamless connectivity.
You can watch the tutorial on YouTube:
Running Flutter Application on iOS Emulator
When running a Flutter application on an iOS emulator, the localhost is treated as 127.0.0.1 or simply localhost. This means that to connect your Flutter app to a backend running locally, you can simply point it to:
http://localhost:SPECIFIC_PORT
Or
http://127.0.0.1:SPECIFIC_PORT
For example, if your API is running on port 8000, the URL in your Flutter app should be:
http://localhost:8000/api/users
This setup works because the iOS emulator uses the current machine’s localhost by default.
Running Flutter Application on Android Emulator
On the Android emulator, the situation is slightly different. Instead of using localhost, Android emulators use 10.0.2.2 as the reference to access the host machine’s localhost. If your backend is running at:
http://localhost:8000/api/users
You’ll need to change the URL in your Flutter app to:
http://10.0.2.2:8000/api/users
This adjustment allows your Android emulator to communicate with the locally running backend on your development machine.
Running Flutter Application on a Real Device
Things change when you’re testing your app on a real device. On real devices, localhost refers to the device itself (for example the mobile device or the tablet), not your development machine (your PC). To connect your Flutter app running on a real device to a backend running on your local machine, follow these steps:
- Ensure your real device and development machine are on the same network. Both must be connected to the same Wi-Fi or local network for this to work.
- Host the backend on your machine: If you’re using a local server, like Express.js, Python (Flask, Django), Laravel or PHP backend, you’ll need to ensure it’s accessible from the network. For instance, if you’re using Laravel, you can run the backend with:
$ php artisan serve --host 0.0.0.0 --port 8000
This command will host your application on your machine’s IP address (e.g. if your machine IP is, 192.168.0.243). From your real device, you can now access your API like this:
http://192.168.0.243:8000/api/users
- For a PHP application: If you have a basic PHP backend, you can serve it with:
cd path/to/your/app   // Navigate to your application directory
php -S 0.0.0.0:<PORT_NUMBER>
For example, if you use php -S 0.0.0.0:3000, your app will be hosted at:
http://192.168.0.243:3000
You can now access your API from your Flutter app running on the real device:
http://192.168.0.243:3000/api/users
- For an ASP.NET Core application: If you’re using ASP.NET, make sure to configure your
Program.csfile correctly and bind the application to the IP address as shown below:
var host = new WebHostBuilder()
  .UseKestrel()
  .UseContentRoot(Directory.GetCurrentDirectory())
  .UseUrls("http://localhost:5000", "http://192.168.0.243:5000")
  .UseIISIntegration()
  .UseStartup<Startup>()
  .Build();
This will make your backend accessible from your real device at:
http://192.168.0.243:5000/api/users
Key Considerations
Firewall Configuration: Make sure the firewall on your machine allows incoming connections on the port your backend is running on. On Windows, you may need to add an inbound rule to allow connections on your chosen port.
Same Network: The most important consideration when connecting to a real device is ensuring that both the real device and your development machine are connected to the same network. Without this, the device won’t be able to access your machine’s localhost.
Conclusion
Connecting your Flutter application to localhost varies depending on the platform you’re using. Here’s a quick recap:
- iOS Emulator: Use
http://localhost:SPECIFIC_PORT. - Android Emulator: Use
http://10.0.2.2:SPECIFIC_PORT. - Real Device: Use your machine’s IP address
(http://<your-ip>:SPECIFIC_PORT), and make sureboth the deviceand your computer are on thesame network.
By self-hosting your backend on your machine and configuring it properly, you can access it from all platforms — iOS emulator,Android emulator, and real devices — with the same URL, making it easier to work on your Flutter application across multiple environments.